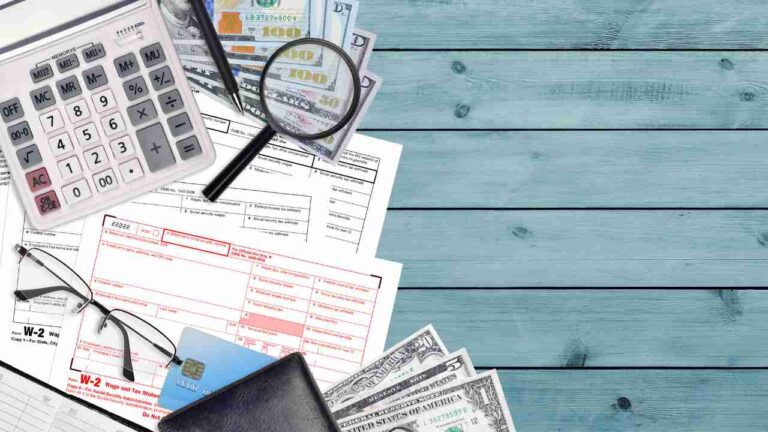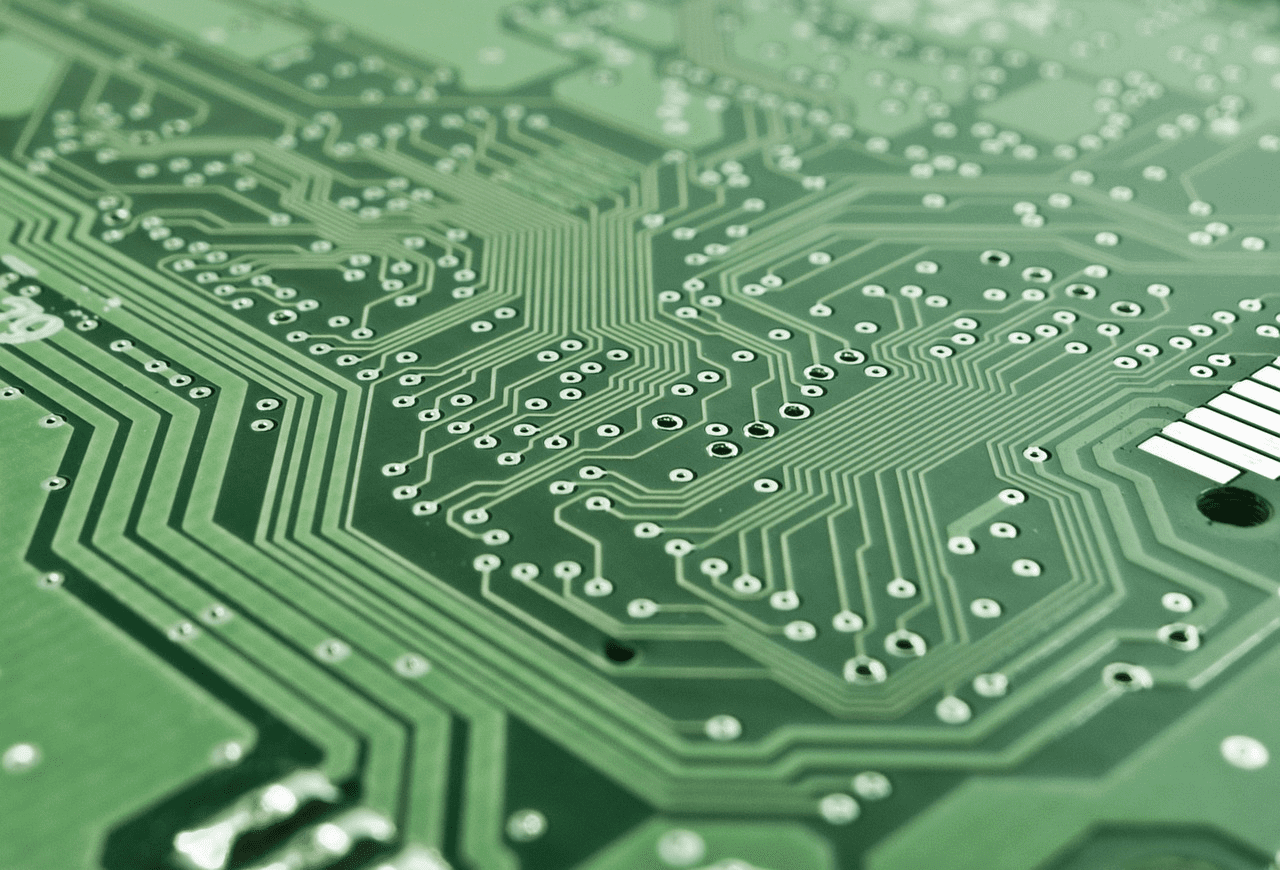
- 1. Why Data Loss Occurs in SanDisk?
- 2. Can you Recover Files from SanDisk Drive?
- 3. How to Recover Data from SanDisk Devices?
SanDisk is one of the popular brands when it comes to storage devices such as SD cards, pen drives, SSDs, external hard disks, etc. We use these devices we use to store or back up data, but data loss from them is a reality we cannot avoid. That is why we are going to discuss how to recover data from SanDisk storage devices with this write-up.
Why Data Loss Occurs in SanDisk?
If you are looking to troubleshoot data loss from SanDisk devices, first you need to investigate the reasons for the data loss. There can be multiple reasons for this, and you can find some of the common causes,
- Accidental deletion or formatting from the drive.
- Data corruption in the drive.
- Improperly removing the device from the system.
- Issues in the connecting port on your system.
- Drive file system is corrupted.
- Virus or malware attack on the drive content.
- Device is physically damaged.
Can you Recover Files from SanDisk Drive?
When you see your data stored in the SanDisk device is gone missing, the thought is, can you recover data from the drive? Well, the answer is Yes, but if you have the knowledge of the recovery solution. This article will give you enough learnings so you will feel confident to perform the recovery process.
How to Recover Data from SanDisk Devices?
When you experience data loss from SanDisk drive, you can use many methods to recover the data. Below you can find a list of solutions that can help you repair and recover data from SanDisk storage devices.
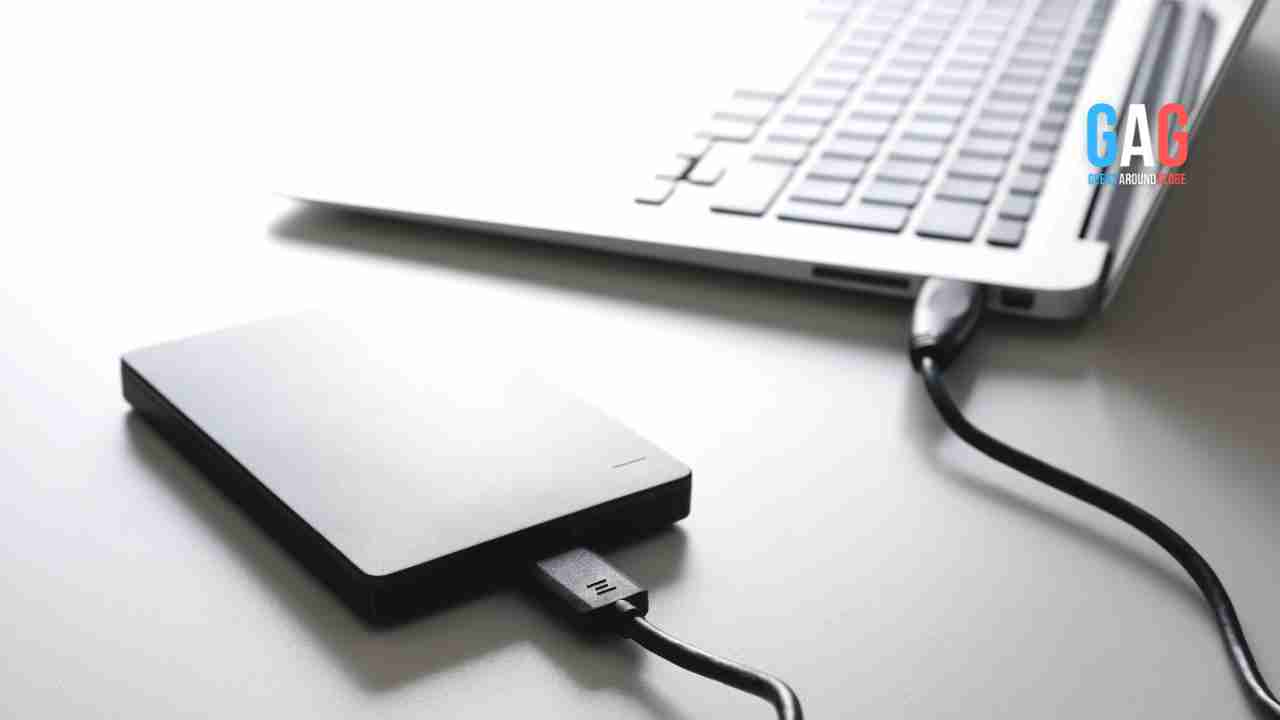
1. Remove and Re-Insert the Drive in a Different Port
Most of the time, you can experience data loss because you are not connected to the device properly, or the port you are connected to is damaged. In such cases, you can remove your device and connect properly on either the same or a different port.
Note: You can connect the device to a different system if any of your connection ports allow you to access the device.
2. Fix Corruption in the SanDisk Device
If you have ruled out issues with the system’s ports, your device might have corruption. These scenarios need you to fix the corruption in the device first.
a. Change the Drive Letter
The system assigns a drive letter to identify the individual drives when accessing and managing the drives. If your drive letter is conflicting with the system, then you can find it in a data loss scenario. You can change the letter and start accessing the drive easily. Please follow the steps below,
- Press Windows + R keys to open the Run dialogue box.
- Open Disk Management by typing diskmgmt.msc in Run and pressing Enter key.
- Find the drive and right-click on it.
- Click on Change Drive Letter and Paths option.
- In the window open, select the drive, and click the Change button.
- In the following window, select a drive letter from the drop-down list.
- Click on the OK buttons in the windows opened.
b. Update Necessary Drivers
Drivers help the operating system communicate with the hardware in the system to keep your system performing smoothly. But if your drivers are outdated, then work gets difficult. You can update the drives with the below instructions,
- In the search field on the taskbar, type Device Manager and click Open.
- Find Portable Devices and expand them.
- Right-click on the driver and click on the Update driver option.
- In the window that opens, click on Search automatically for drivers’ button.
- Follow the instructions on-screen to complete the updation.
- Restart your system.
c. Run CHKDSK Command
CHKDSK is a command line utility to scan and repair issues with the drive’s file system. You can run this command on your drive with the following instructions,
- Type CMD in the start menu and click on Run as administrator.
- In the command prompt window, type chkdsk /f /r [drive letter]:
Note: Replace the [drive letter]: with the letter corresponding to your drive.
d. Perform Error Checking
You can scan and repair bad sectors in your drive using the Error Checking utility provided by Microsoft. Below you can find steps to use Error Checking to repair your SanDisk device,
- Open File Explorer.
- Right-click on the drive and select Properties from the list.
- In the window, click on the Tools tab.
- Finally, click on Check in the Error Checking section.
- In the pop-up window, click on Scan and Repair drive button.
- Follow the instructions to complete the process.
3. Use Data Recovery Software
You can use recovery software to restore the data from the SanDisk drives. You can find many options. We have recently come across a SanDisk Recovery Software. You can use this software to recover data from SanDisk storage device with the following steps,
- Connect the device to your system and launch the software.
- In the window, select your SanDisk device and click the Scan button.
Note: You can use Can’t find the drive option if you can’t find the drive in the window.
- Wait for the scan to complete.
Note: You can preview the result while the scan is running by clicking on Dynamic Recovery View.
- Preview the result by double-clicking on the files.
- Select the files you want and click on the Recover button.
- Now select the location to save the file and click on OK.
Tips to Improve the Data Recovery Success
Data recovery from a drive is easy to perform on any device. But there are factors that help you improve the success rate. Find some of them below,
- Stop using the drives once you find data loss.
- Do not format the drive.
- Regularly back up your data.
- Keep the drivers up to date.
- Scan your system for malicious attacks.