How to Bake Polymer Clay without an Oven Exploring Alternative Baking Methods

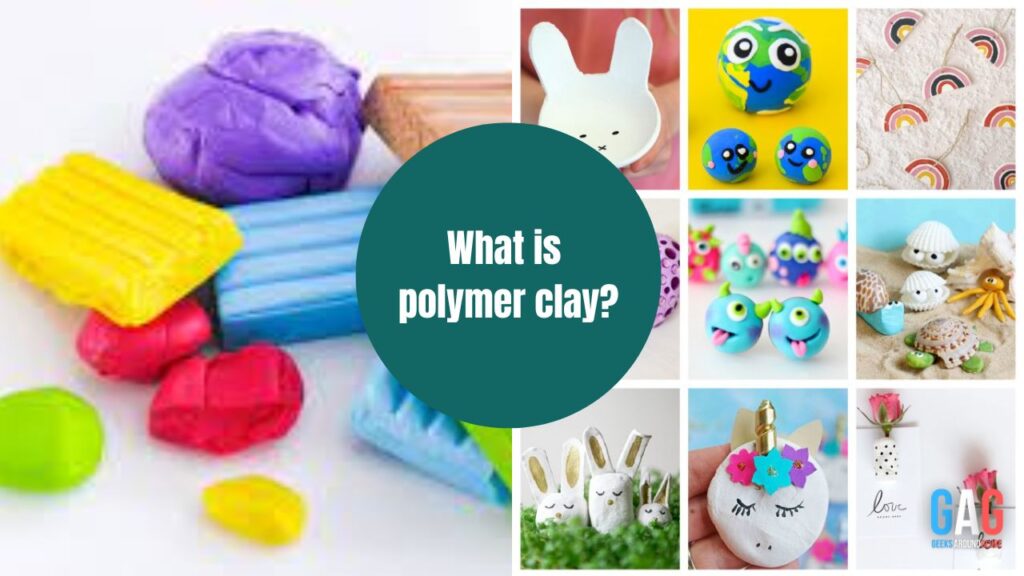
Polymer clay is a super innovative medium made from Polyvinyl Chloride (PVC). That is one of the top trending crafting mediums in the world. Polymer clay stays soft and viable until you convert it into hard polymer clay charms by baking. If you don’t bake your polymer clay piece correctly, you won’t be able to use it or keep it durable.
Using a domestic oven is the best way of baking polymer clay. What if you don’t have an oven to bake? Do you know it is possible to bake polymer clay even without an oven? In this article, we are going to explore alternative polymer clay baking methods when an oven is not available!
“You’ve got to experiment to figure out what works”
Andrew Weil
Baking with a Toaster Oven
Are you someone who doesn’t want to use the same oven for baking food and polymer clay? A toaster oven is an ideal alternative for you! You can have perfectly baked polymer clay charms using a toaster oven just following a few hacks!
Step-by-step guide
- Preheat the oven and the baking surface for about 20 minutes and set the temperature between 2650F and 2750F.
- Use non-shiny ceramic tiles on top of the oven to hold the temperature inside. Also, you can place a non-shiny ceramic underneath or can use white parchment paper or a ceramic dish as the baking surface.
- Keep an oven thermometer inside as you can read the temperature through the oven door. Wait till it reaches a stable temperature.
- Then adjust the settings accordingly, setting the dial lower or higher to get the right temperature for your polymer clay.
- Finally bake some test clay in various thicknesses for different time durations, ensuring that your backing surface is as close to the center of your oven as possible, for even baking. Use an aluminum tray or a piece of white paper as a tent to cover your clay pieces.
- Once your test samples have completely cooled down, test the strength by flexing the clay without bending it. Strongly-baked polymer clay is flexible since it’s made of PVC and weakly-baked clay will snap in two.
- Once you confirm that your polymer clay has perfectly baked, you can start your actual baking!
Advantages and limitations
Because of its portability, low energy consumption, and budget-friendliness, a toaster oven can be suggested as a good option for baking polymer clay. You can set the dial once and leave it as is the next time that you bake.
However, you can’t use a toaster oven to make larger polymer clay projects. Make sure you are mindful enough and take action to control the temperature while baking.
Baking with a Hot Air Gun/Heat Gun
Do you know that a hot air gun or heat gun can be used for baking smaller polymer clay projects?
The temperature it produces isn’t adequate to bake polymer clay. Also, there are practical issues of holding a hot gun for so long. Therefore, a heat gun can be used to bake partially cured parts of a sculpture or to partially cure a clay creation to add some other tiny parts.
How to use a Hot Air Gun/Heat Gun to bake Polymer clay?
First, let the hot gun heat. Place the piece of clay you need to bake on a heatproof surface. Then, hold the hot gun so close to it. Make sure you are moving the heat gun spreading the heat to each part of the clay piece. Put some cold water on your clay when you are done with heating.
If you are trying out this particular method, remember to do this in a well-ventilated area. Be careful as your clay can be really hot when it is cured with a heat gun.
Baking with a Portable Electric Skillet
When conventional ovens are not at your disposal, a portable electric skillet can become your go-to alternative for baking polymer clay crafts. This method offers the advantage of precise temperature control and even heat distribution, ensuring a successful curing process.
Step by Step guide
Follow these steps to bake your polymer clay correctly using a portable electric skillet.
- First, take your electric skillet and place some metal stands inside so you can put your baking items on it. Then, make sure to preheat the skillet to the appropriate temperature.
- Take a ceramic dish put it on parchment paper and place your polymer clay pieces. Close the lid and let the clay bake for the recommended amount of time.
- However, you can’t get any type of electric skillets for baking. Also, you need to monitor and adjust the temperature during the baking.
Pros and Cons of Using a Portable Electric Skillet
Pros:
- Precise Temperature Control: Electric skillets often provide precise temperature settings, allowing you to maintain the ideal curing temperature for your specific clay brand.
- Even Heat Distribution: The flat surface of the skillet ensures even heat distribution, minimizing the risk of uneven baking.
- Portability: Portable electric skillets are easy to transport, making them a suitable option for crafting on the go or in spaces without ovens.
Cons:
- Limited Space: The size of the skillet limits the size of the projects you can bake at one time.
- Potential for Contamination: It’s important to use a protective barrier like white paper or a ceramic tile to prevent any potential food contamination.
- Temperature Monitoring: You’ll need to closely monitor the temperature to ensure it stays within the desired range, as there is no automatic temperature regulation.
Using a portable electric skillet as an alternative baking method for polymer clay can be a convenient solution when an oven is not an option. With careful temperature control and the right precautions, you can achieve excellent results, ensuring your polymer clay creations are durable and long-lasting.
Baking with a DIY Tin Foil Heat Box
Crafting on a budget or in limited spaces often requires resourcefulness, and when it comes to baking polymer clay without an oven, a DIY tin foil heat box can be your cost-effective solution. In this section, we’ll introduce the concept of creating your own heat box and outline the steps for baking polymer clay projects.
How to create a DIY Tin Foil heat Box to Bake Polymer Clay?
You just need a tin box, aluminum foil, a heat gun, an oven thermometer, and some pins. First,
- remove the lid of the tin box. Make a place to insert the heating hole of the hot gun.
- Then, cover the inside of the box with aluminum paper. Use glue and pins to secure the foil papers.
- Put a foil on the surface. Place the tin box upside down. Wrap some extra foils where you insert the hot gun. You can place an attachment to the hot gun to disperse the heat better.
- Place the thermometer as you can read the temperature inside. Switch on the hot gun and let it preheat before you put your clay inside.
Safety Measures and Limitations
- Safety: Always use an oven-safe thermometer to monitor the temperature inside the box to avoid overheating. Ensure good ventilation in the area to dissipate any fumes that might be produced during baking.
- Limited Space: The size of your box limits the size of projects you can bake, making it unsuitable for large creations.
- Temperature Control: The DIY tin foil heat box may not provide as precise temperature control as some ovens, so careful monitoring is essential.
- Fire Hazard: Be cautious with the placement of the heat box and ensure it’s away from flammable materials to prevent any fire hazards.
With a little ingenuity, you can create a DIY tin foil heat box to bake polymer clay projects effectively and affordably. This method, while simple, allows you to achieve satisfying results while adhering to the specific baking requirements of your chosen polymer clay brand. Just remember to prioritize safety and temperature monitoring throughout the process.
Safety Tips
Safety over anything! Whatever the baking method you try out, always stick to safety precautions to protect both your clay and good health.
- Use an oven glove when you are handling hot clay. It will save your skin from the heat.
- Always maintain the right temperature and timing recommended on the clay package as those depend on the brand you choose.
- Keep an oven thermometer to measure the heat and don’t let your clay overheat, as this can cause melting or burning your clay. Burning polymer clay emits toxic fumes.
- Make a little tent for the clay pieces you are supposed to bake with a piece of paper or a foil lid to cover. It will prevent your clay from burning and discoloring.
- Let the clay cool once you are done with baking.
- Do stick around while you are baking your clay! Don’t leave them.
Conclusion
Are you ready to try out alternative methods of baking polymer clay rather than a domestic oven? Whatever method you experiment with, safety must be your top priority as you are going to deal with heat!
Try out these exciting baking techniques during your polymer clay journey and do share your experience with us! Always keep in your mind that creativity knows no boundaries, even if you don’t have so-called “tools for baking polymer clay”. Enjoy crafting!
FAQs
There are many! You can use a toaster oven, heat gun, hair dryer, boiler method, electric skillet, or DIY heat box to bake your polymer clay.
Small polymer clay pieces can be cured by air drying.
Never microwave your polymer clay as it burns the clay.
Usually, you have to maintain the temperature between 2650F and 2750F.
You can bake polymer clay multiple times.
Don’t miss these article about Polymer Clay


