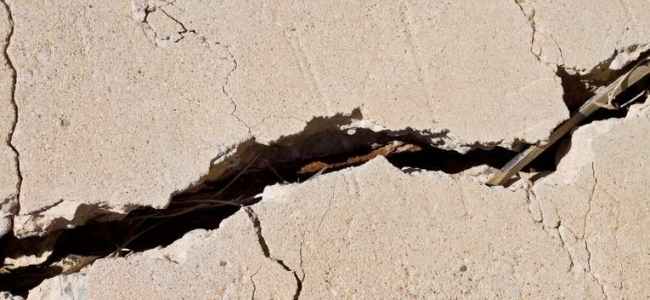
Concrete cracks are a typical problem in many areas and can be an unsightly mess for homeowners. If you live in a place where the ground freezes, it’s also frustrating because these cracks will expand during the winter months. The good news is that there are ways to repair them with epoxy! This article provides a step-by-step guide on how to epoxy your concrete crack.
The structural integrity of a concrete wall may be compromised by cracks. Due to this, builders repaired these cracks instead of completely destroying the member. These stubborn cracks can be repaired with concrete epoxy, a material widely accepted by engineers and concrete repairing experts.
What is Concrete Epoxy?
It is an epoxy resin obtained through the polymerization of an epoxide. Epoxies are widely used as coatings and adhesives because of their similar characteristics. There are now several brands available on the market. One thing you should note that it is not a DIY Job you should call your nearest concrete repair services to make sure everything is done correctly. This guide is knowledge based.
Now let’s discuss the steps involved to repair cracks with epoxy.
Identify Concrete Cracks
To begin with, it is imperative to paint all cracks visible, including all hairline cracks. An engineer in charge of quality assurance ensures that no cracks are left unnoticed by this initiative. Furthermore, cracks should be identified as either live cracks or dead cracks.
Use super glue or another approved adhesive to glue a thin piece of scrap glass to the crack to check if it’s growing. The crack in the glass will serve as a reference point for measurement. Wait a few months and see if there are any changes. The crack would require structural intervention if there were any changes.
It is done by chiseling the cracked surface. Ensure that you mark any hairline cracks so that they can be included in the epoxy injection. An unrepaired crack would allow water and air into the member, resulting in the reinforcement bars rusting, gradually diminishing their strength.
Another problem is that a crack left unnoticed would propagate another crack, which would compromise the logic of repairing a concrete crack.
Clean Cracked area
A high-powered construction blower is normally used to clean the cracks after the crack’s extent has been determined. Dust must be kept out of chiseled cracks throughout the deepest part of the chiseled area. The concrete epoxy would no longer adhere to the surface if it was contaminated with foreign particles. The cracks are sometimes pumped with water and then allowed to dry for 24 hours to allow the insides of the cracks to be thoroughly cleaned.
Sealing Cracks
When cracks are thoroughly cleaned and dust-free, fix injection ports in such a way that even slight movement won’t happen. Injection ports should be fixed at this position, otherwise, leakage and destruction will occur. Concrete epoxy has to be properly sealed in cracks to prevent leaks and to fill voids with concrete epoxy so that it can perform its main job.
Inject the crack slowly by using a suitable injection port. Following the positioning of the injection port, this procedure must be carried out immediately. The injection ports are normally placed at a certain distance in order to fill every crack in the concrete. In order to determine the design distance, engineers should consult the brochure or the supplier.
Finish the Repairing Job
To learn how many hours the injection port can be removed, check the concrete epoxy brochure. This would normally take 24 to 48 hours. Builders often sand these epoxy concrete members to properly eliminate stubborn bulges, resulting in a better aesthetic appearance. Further, it is best to check the color of the dried-up epoxy and compare it with the existing color of the material. A few architects are so oozy they don’t want to see concrete cracks clearly repaired.