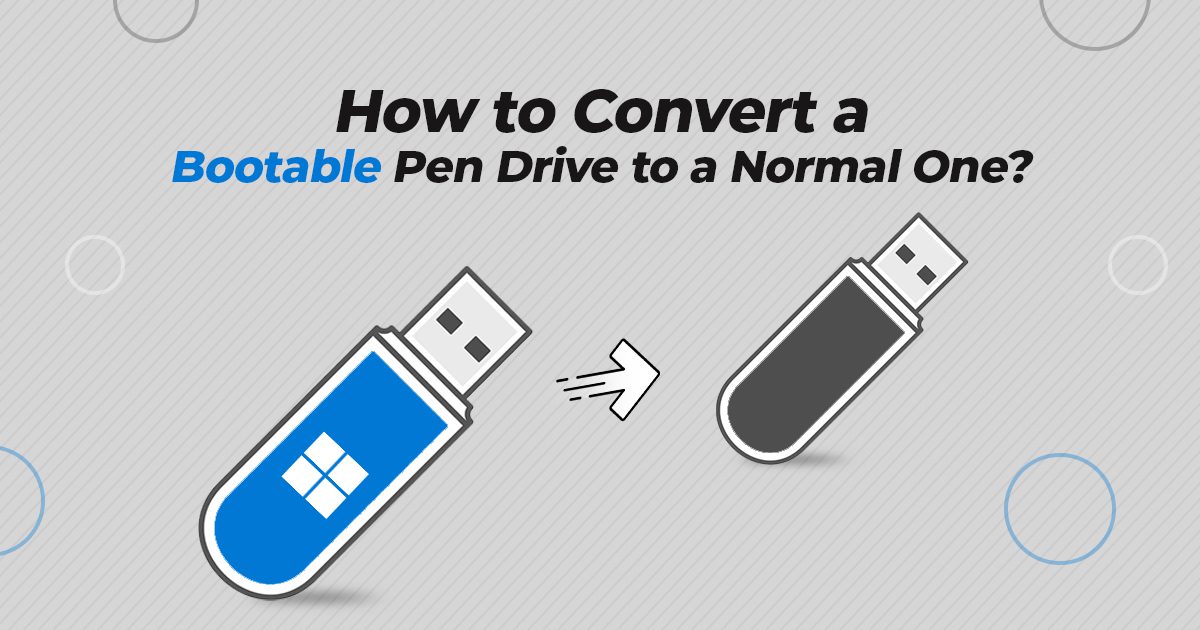
Do you want to make your bootable USB Pen drive normal to store the data? If yes, do not worry we will help you out. When your Pen drive gets bootable, it cannot be used to store more media or files until you unboots it again.
If you want to convert the bootable Pen drive to normal, you need to perform some simple methods. Here, in this article, we have provided effective methods to answer how to convert a bootable pen drive to a normal one. Just check and try these methods one by one!
Quick Methods to Convert a Bootable Pen drive to Normal
In this section, we have provided three methods for converting bootable USB to normal in Windows. You can select the one that suits you the best.
Method 01: Format Bootable USB in File Explorer
If your Windows was unable to complete the Format, you can format their USB drive to its original state using File Explorer. Go through the following steps to convert a Bootable Pen-drive to a Normal one via Windows File Explorer:
- Firstly, press the Windows and E keys to open “File Explorer”. Locate the bootable USB flash drive under the “This PC” section.
- Right-click on the bootable USB flash drive, and select “Format” from the various options appearing on the screen.
- Now, from the File system drop-down, choose the NTFS or FAT32 and the allocation unit size as per your requirement. You can also click the “Restore device defaults” option to restore the device’s default settings.
- At last, click the “Start” button.
Once the above-mentioned steps are successfully executed, the process to format the USB drive to the selected file system will get started. After that, you will see the “Format Complete” message indicating that the formatting is completed.
Method 02: Convert a Bootable Pen drive to Normal Using Disk Management
Though formatting the USB drive in File Explorer is an effective method, but instances may occur when it fails. In such case, you can use Disk Management to make your Pen drive unbootable. All you have to do is:
- Press Windows + R keys to open the Run window and type “diskmgmt.msc” in the search box. Press the Enter key to open the Disk Management window.
- Now, locate and right-click on the bootable USB drive and select the “Format…” option.
- After that, you need to select the correct file system and allocation unit size. You can choose Default for the allocation unit size.
- Finally, hit the “OK” button.
Method 03: Use Command Prompt to Convert Bootable Pen Drive to a Normal One
Windows CMD utility is a powerful option to convert bootable USB back to the normal one. You just need to provide a few lines of commands, which we have mentioned below:
- Press Windows + R keys to open the Run prompt and type CMD. Press Enter key or OK button.
- Now, type the “Diskpart” command in the command prompt and press Enter key.
- After that, type “Disk List” and press Enter. This command will display the list of all the hard drives present on your device along with their numbers, sizes, and available space.
- Then, type “select disk X”, and replace X with the disk number of your bootable USB drive.
- Type the “clean” command and hit Enter. This command will wipe all your Bios boot files available on the USB drive.
- After that, type “create partition primary” and press Enter key. This command will create a partition on this bootable USB drive.
- To continue, type the “active” command and then press Enter key.
- Once the above command is successfully executed, type the “format fs=fat32 quick” or “format fs=ntfs quick” command, depending on the file system you selected. Again, press the “Enter” key.
After executing the above-mentioned steps, write “exit” and press Enter. Now, you will get the message “DiskPart successfully formatted the volume”, indicating that your selected drive is now completely formatted.
What If Data Loss Occurs While Converting Bootable Pen drive to Normal One?
All the methods that we have mentioned in the above section of this article can help you to convert a bootable pen drive to normal one. But sometimes you may lose some important data files, accidentally, while applying these methods. Such situations can put you in great trouble until and unless you apply manual data recovery methods or use Windows data recovery software.
Usually, instances like drive formatting, disk corruption, partition loss or deletion, drive failures, etc. lead to the deletion of stored data items. There are several professional data recovery software available online, like Stellar Data Recovery that you can use to recover deleted data from HDDs or SSDs. It is an all-in-one solution to help you to recover data lost during the converting process.
Why Stellar Data Recovery Professional Software for Your Data Loss?
Check out some amazing features of the software before you should give it a try:
- Can recover data lost from completely crashed & unbootable systems.
- Recovers almost every type of data, including photos, videos, office documents, archives, and more.
- Fully compatible with Windows 11, 10, 8 & 7. Even the Mac version supports recovery from almost all macOS.
- Performs deep scanning to recover the data lost during the conversion process.
- Allows you to preview the recoverable items before saving them on your system.
- Available in various versions, and you can select the one that fit your requirement.
Now, let us check the steps that you need to apply to recover lost data using the Stellar data recovery professional tool:
- Download and install the software in your system. Now, connect the USB device from which you want to recover data to your device.
- After that, launch the software and from the “Select What to Recover” screen, select the type of data that you need to recover. Click Next to Continue.
- Now, from the “Recover From” screen, choose the location from where you need to recover data.
- Then, the software will start the scanning process and once it is completed, select the files that you want. Click the “Recover” button to save the selected files at the desired location.
Wrapping Up
Hope, these simple methods will help you to know how to convert a Bootable Pen drive to a Normal One.
Just format your USB drive using disk management or a command prompt to get your task easily done. However, if any data loss occurs during these steps, you can use Stellar Data Recovery to get the deleted data back.


