In the US, millions of people enjoy the RV life, and most people use their RVs for approximately 25 days each year.
With all these vacation days, you’ll drive thousands of miles, causing wear and tear on your RV. It’s important not to let the excitement of your RV trips cause you to forget about RV maintenance. Knowing the essential maintenance your RV needs will ensure you’ll enjoy many cross-country adventures for years to come.
Keep reading this guide to learn the RV maintenance tips you need to know for your next trip!
Check Fluid Levels
Don’t forget your RV is just like your car; it needs basic engine maintenance to perform at its best. Whether you’re on the road often or have your RV parked for extended periods, you must make time for engine maintenance.
You should check your user manual and make a checklist of all the fluids to check like:
- Oil
- Power steering fluid
- Brake fluid
- Transmission fluid
- Coolant
- Windshield wiper fluid
With an RV, you should change your oil every 5,000 miles if you’re using traditional oil. You can typically wait for 15,000 miles if you’re using synthetic oil.
However, the frequency depends on whether you drive in extreme temperatures or in the mountains.
Before you go on an RV trip, check your oil levels and be sure the oil doesn’t appear dirty or full of sludge. If it does, you’ll need to replace your oil completely. You need to check and change your oil filter regularly to avoid contaminating your oil.
Taking care of these basic items will allow you to avoid significant RV repairs in the future.
Inspect the Brakes Frequently
Since RVs are larger, there is a lot of weight bearing down on your brakes. Even smaller RVs can be heavy, so the disks and pads on your brakes must be in good condition.
Performing brake tests often is important, but you’ll also need to inspect the entire brake system. You should get your brakes inspected annually, but if you’re doing a lot of traveling, it’s best to check them every 3,000 miles. It’s wise to get a complete inspection before you go on a long trip.
This includes the pads, brake lines, disks, and fluid levels. Your owner’s manual will tell you how to do this, but if you’re uncomfortable, find a professional.
A professional mechanic can inspect your brakes and give you tips on how to do this on your own.
Check Tire Pressure
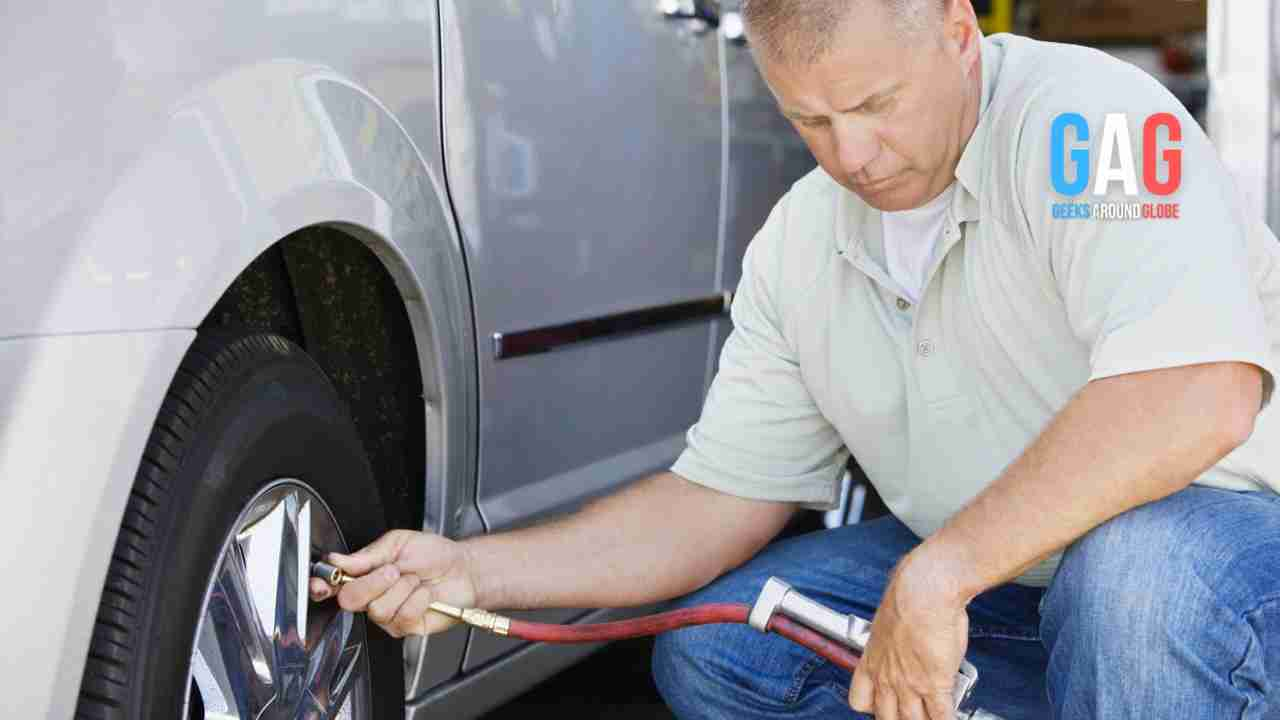
Before every RV trip, you’ll need to check your tires’ air pressure and tread. Your owner’s manual will tell you the proper PSI for your tires. PSI (pound per square inch) is the least air pressure your tires need to support your RV.
Your tire pressure can change in cold temperatures, and a 10-degree temperature drop can affect the PSI.
You must check the tire pressure before you go on a trip and bring a tire pressure gauge to check your tires along the way. While you’re checking your tire pressure, take note of how your tire tread looks. Check for gradual wear, like smooth areas with no tread.
Finally, don’t forget to rotate your RV tires every 6,000 to 8,000 miles, just like your regular car. This will save them from uneven wear and tear.
Clean and Inspect the Roof
Your RV’s roof has to withstand many environmental factors, so regular inspections and maintenance are essential.
First, you should inspect your RV’s roof every three months. Water can easily leak through the edges and seams of your roof. It can also leak through skylights and vents. Water will soak through the roof’s framework first, and over time it will come through the ceiling panels.
Once this occurs, you’ll have to deal with extensive water damage.
So, during your inspection, you’ll want to pay close attention to soft spots or discoloration. You should look for puddles around your air conditioner or solar panels. Also, check for separation or small cracks.
During the inspection, clean your roof with water and mild soap like dish soap. Let the roof dry completely, and apply a sealant. A self-leveling sealant or lap sealant is best. This sealant is designed to seal roof skylights, joints, and cracks.
You can use rubber tape to seal gaps if you notice holes or tears. Keep in mind that once you apply this tape, it’s tough to remove.
Never use silicone on your roof since the roof moves and twists when your RV is moving. This causes the silicone to separate and allows water to get in.
With proper maintenance, your RV roof should last many years, but ultimately you’ll need to replace it.
Check for Exterior Leaks
Don’t limit your inspection to just your roof. After you inspect the roof, you’ll need to check the entire RV exterior for broken seals and leaks.
Your RV has furniture, carpet, electronics, and more. Small leaks can cause a significant amount of damage. Too much moisture can even damage the electrical components of your RV.
Since RVs are large, you’ll want to begin your checks in areas like windows, doors, and other openings. Check all the seals and look for cracks. Seeing mildew, mold, or dirt is a great indicator that you have a hole or a crack nearby.
Search all exterior storage compartments like bins and drawers. These areas are the perfect places for insects or mice to stow away in and cause damage to your RV.
You’ll need to caulk any cracks you find, but be sure to clean your RV first.
The best part of doing this inspection is it allows you to see what kind of shape your RV is in. If your RV is getting older, you’ll be able to form a plan to buy a new RV in the future.
You can look here for more information on newer RVs and the prices you can expect to pay.
Use These RV Maintenance Tips Before Your Next Trip
These RV maintenance tips will allow you to keep your RV running smoothly for as long as possible.
Doing more research to learn as much as you can about essential maintenance is necessary. Maintaining other RV parts like the water system, fuses, and batteries is also crucial. Don’t be afraid to ask a professional mechanic for maintenance tips and tricks.
For more life hacks and other helpful travel tips, be sure to check out the rest of our blog today!


