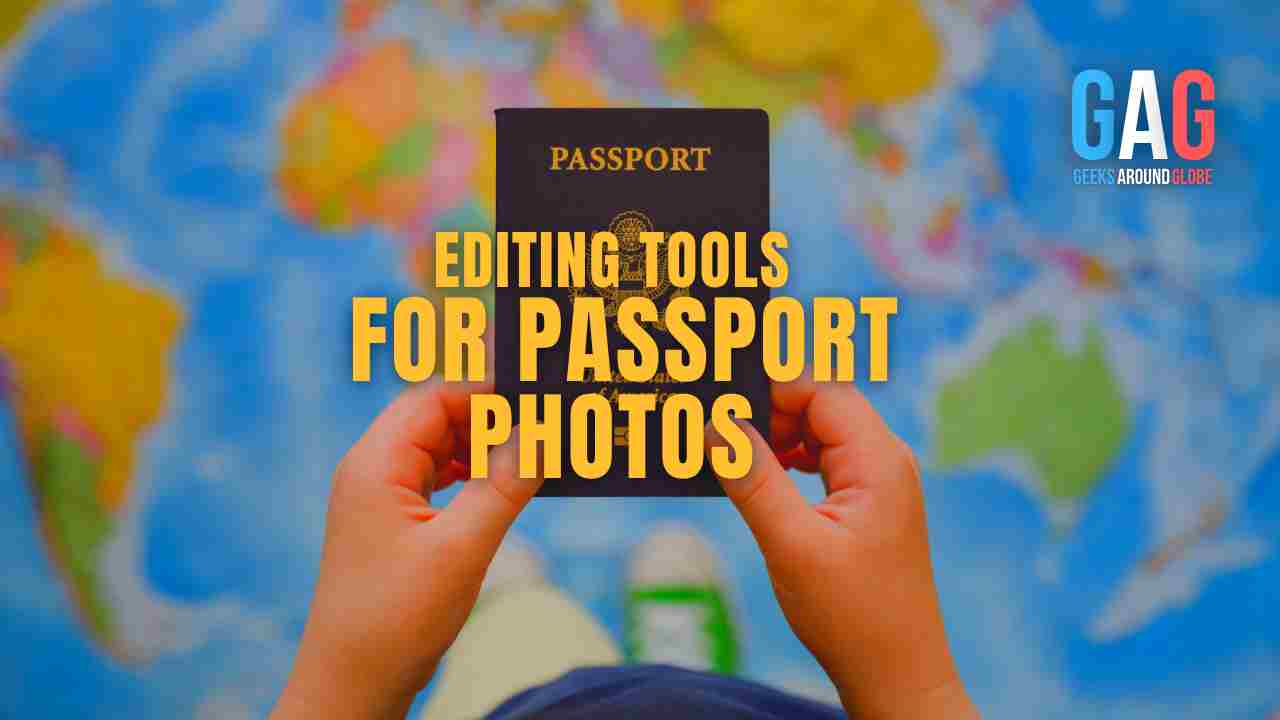
When getting your passport renewed, having a decent photo for your application is hands down the most important thing aside from collecting correct documentation. If you’re thinking you can edit it by yourself, you’re not entirely wrong. Although there are much better and faster ways to get the appropriate image for your ID that we’ll talk about below.
Cropping Your Passport Photo in Photoshop
It doesn’t take long to crop a passport image using Photoshop. Those who choose it as their preferred editing method must remember a few things before moving forward: while you can get the correct measurements with the tool, you might find it difficult to locate the required position and proportions for your eyes and the head. Those are better achieved with automated online softwares.
If you decide you’re still capable of doing that by yourself, here’s how:
- Choose the ‘crop’ tool in the sidebar
- Pick the “W x H x Resolution” and submit your dimensions: 1×1 for a 2×2 inch image and 7×9 for 35×45 one
- Crop your photo in a way that it still includes your shoulders and has free space at the top of your head
Note that any extra enhancements are strictly forbidden. Additional alterations can cause your application to be rejected.
How to Use the Online Photo Editing App
Prospective applicants who are short on time and are budget savvy will opt for pro online photo tools to have things done for them.
Editing your photo using the software looks something like this:
- Take a photo using your phone from home
- Choose the perfect one that has no glares, isn’t underexposed and without shadows
- Upload it to the service and pick the ID type and your country for the tool to match the specifications
- Wait until it processes the image and download your result that will 100% fit the requirements
Using the online service helps you avoid the extra hustle by limiting manual editing to a minimum if any. Now, it may seem like a great idea to crop and alter your photo yourself according to standards. We strongly suggest omitting that to make sure your final photo is 100% fit for your passport or visa application.
The United States government has also created an official photo tool for those in need of a photo for their passport and visa application. It does the job, although isn’t entirely perfect with getting the right proportions and background editing.
Pros and Cons: Photoshop vs the Online Tool
To help you make up your mind, here are a few pointers that may assist with the decision:
Photoshop PROs:
- It’s fast and easy
- You know exactly what’s going on
- You can alter the head and eye position
- It’s free
Photoshop CONs:
- Taking the actual photo will cost you at least $10USD
- If you take one yourself, bear in mind that you have to edit the background as well
- It’s hard to remember all the tiny specifications
- It’s not 100% guarantee the photo will match the standard
Online Service PROs:
- It’s fully automated and experienced with a ton of positive feedback from customers
- Whole process will cost you less than $8USD
- It removes the background itself by keeping the outline sharp and intact
- It provides you with an image for digital submission and a template for printing out
Online Service CONs:
- You can’t submit a selfie, your photo should be taken 1.5m away from the camera for it to work
- Not all services offer an app for your phone, hence it may be tricky to download a decent photo
If you choose to edit your image using photoshop, here’s a reliable free verification tool that will tell you right away if anything needs changing in your photo. It can assess any photo for passport, visa and DV Program purposes.
Uploading the image to a trusted online service like Passport Photo Online relieves you from having to double check the photo, as it comes out already perfect and matches all required conditions.
Make your pick and good luck with submitting your applications.